
|
|  |
| ||
Introduction.To understand what this software is used for and what distinguishes it from an antivirus or antimalware, I wrote an article on security and malicious parasites on pc computers. Imagine a software that takes a picture of your operating system, then who, at each start, compare the state of the system to that of the photo, that notifies you of new files and folders, those that have been deleted or whose content has changed, new keys in the registry, and those that have been changed. You'll be warned that malicious software may be is in your Windows, and you could quickly analyze it on VirusTotal and delete it, for example by yourself or with Malware bytes anti-malware. Sentin'l consists of two programs.These two programs are called Sentinl.exe and Scan.exe.  Sentinl screen at the beginning of the installation. After each step of the installation, a new zone is revealed, allowing you to enter the parameters of the next step. 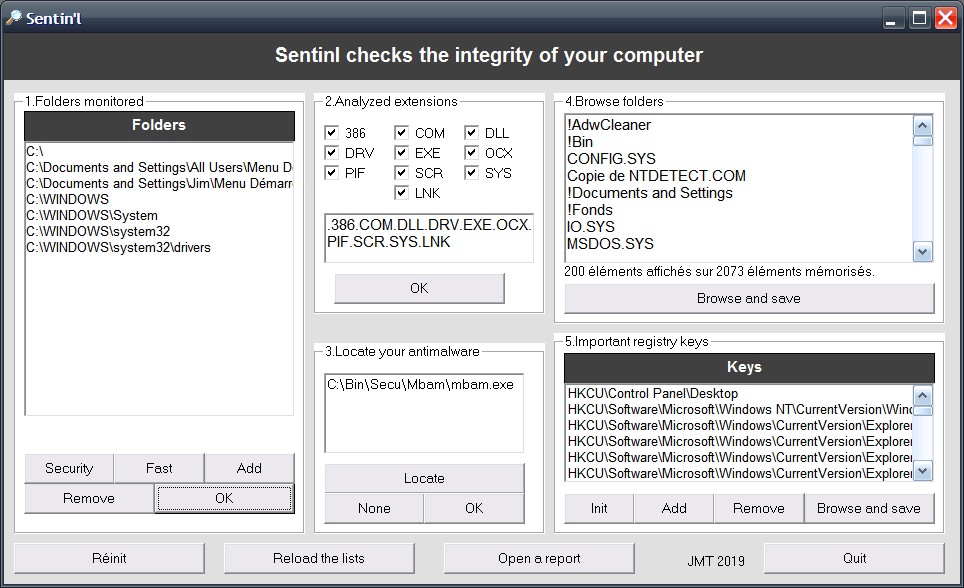 Image of Sentinl near the end of the installation, when all the steps are displayed. The following steps do not need any special comment. The user is guided step by step. After using Sentinl.exe correctly, the files Liste1.ini, Liste2.ini and Liste3.ini have been added to the application folder. They contain the sentinl configuration and a photo of the operating system, its processed files and monitored registry keys. The rest depends on Scan.exe, to run to compare this picture with the current state of the system to detect differences. Scan.exe lets you check that the system is unchanged, to display a report if there is a problem, to launch an antimalware,
and take a new picture of the system if you validate the detected changes. You must therefore run Scan.exe often, ideally at each startup of the system,
by putting a shortcut to Scan.exe in the Startup folder, or by using my JTaches task scheduling program.  Message displayed by Scan.exe while running, at the top left of the screen. For eavy systems, when scanning the folders of Windows takes a long time, like with Windows 10, you can start Scan.exe with the option -nodisk. Sentin'l will be very fast but it will not scan the files and folders, therefore it will continue to scan the registry normally.
 | |||

|

|
||